eXeLearning in WordPress
The eXeLearning plugin for WordPress lets you upload resources (.elpx) to the Media Library,
edit them with the embedded editor and publish them in posts and pages with a block or a
shortcode. It is a good fit for a school blog or website.
Try it before installing
Open the demo in WordPress Playground. You are signed in automatically and two sample resources are already in Media.
For administrators
The administrator installs the plugin once on the WordPress site and every author can use it; teachers install nothing. On a WordPress multisite shared by several schools, install it once for the whole network.
Requirements
- WordPress 6.1 or later.
- PHP 8.0 or later.
- An upload limit large enough for the plugin (about 30 MB) and your resources.
Installation
- Download
exelearning-X.Y.Z.zipfrom the latest release. -
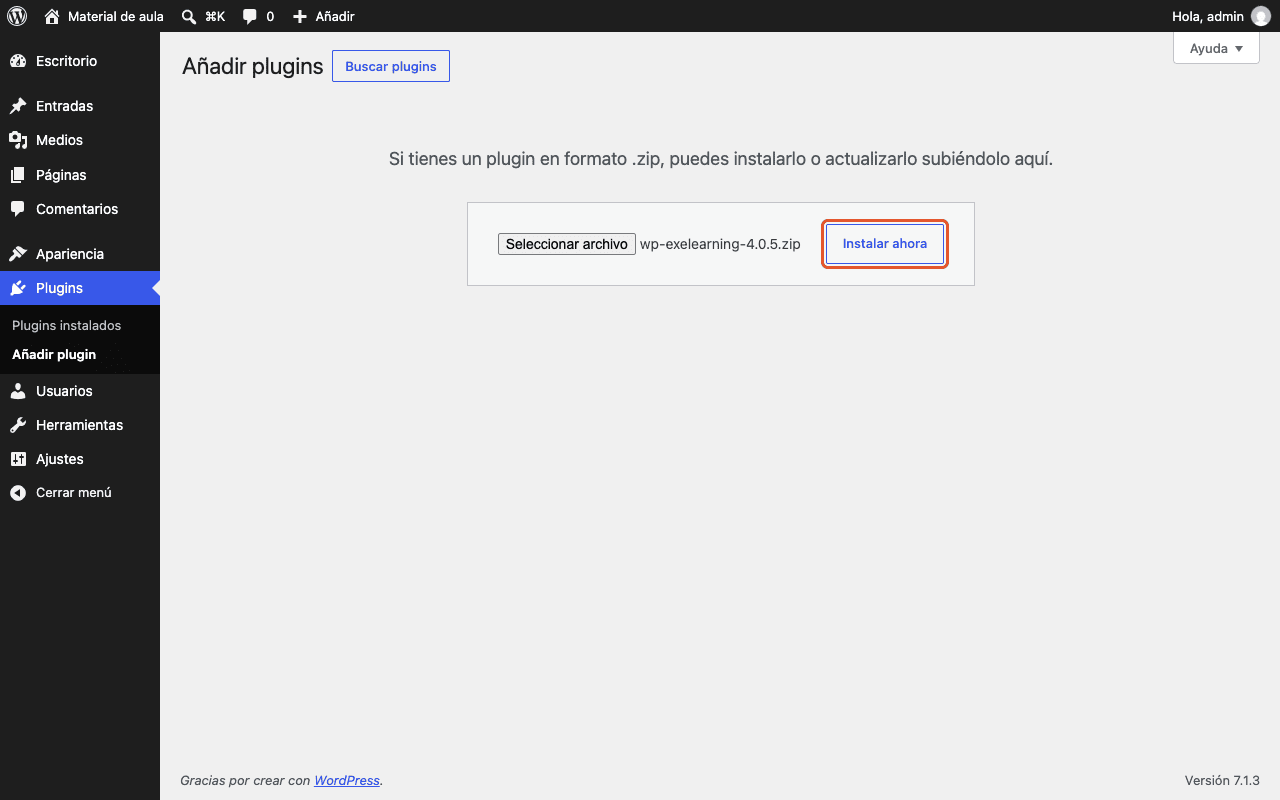
Go to Plugins → Add Plugin → Upload Plugin, choose the ZIP and click Install Now.
-
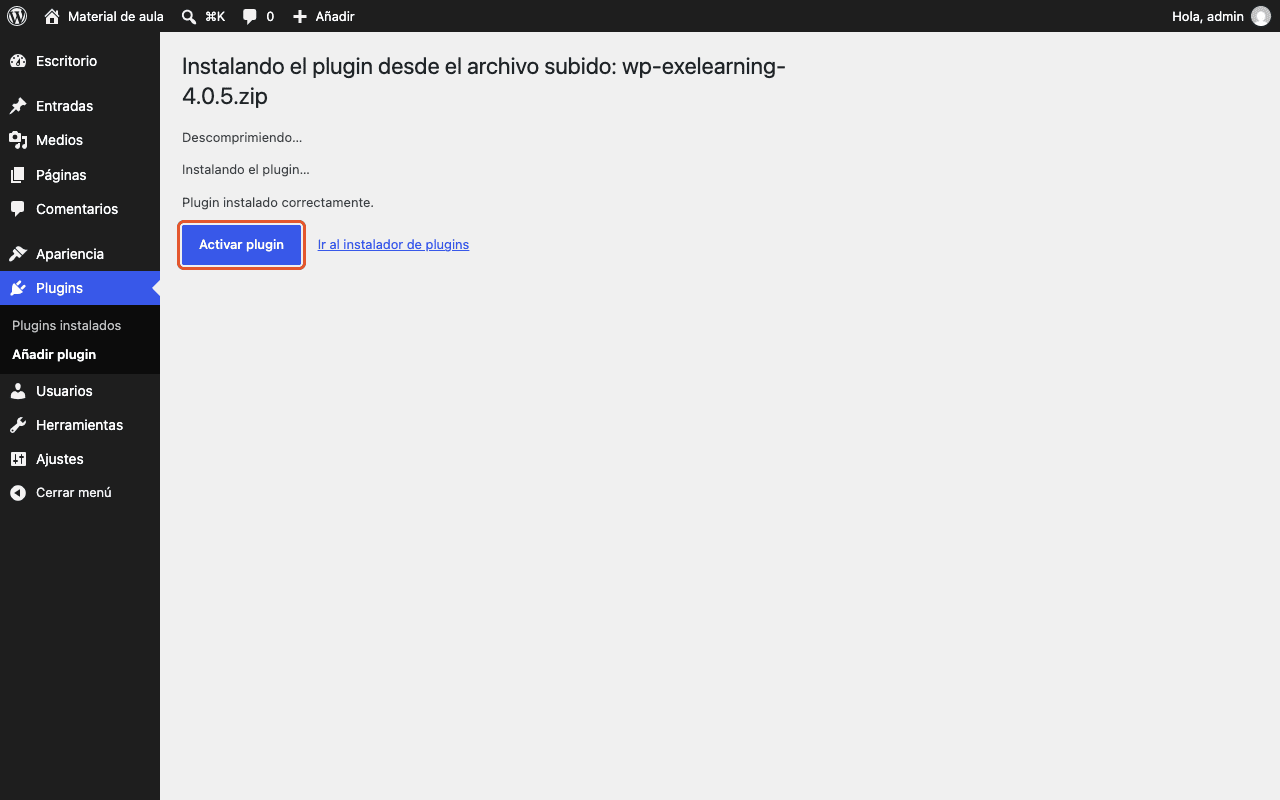
Click Activate Plugin.
Configuration
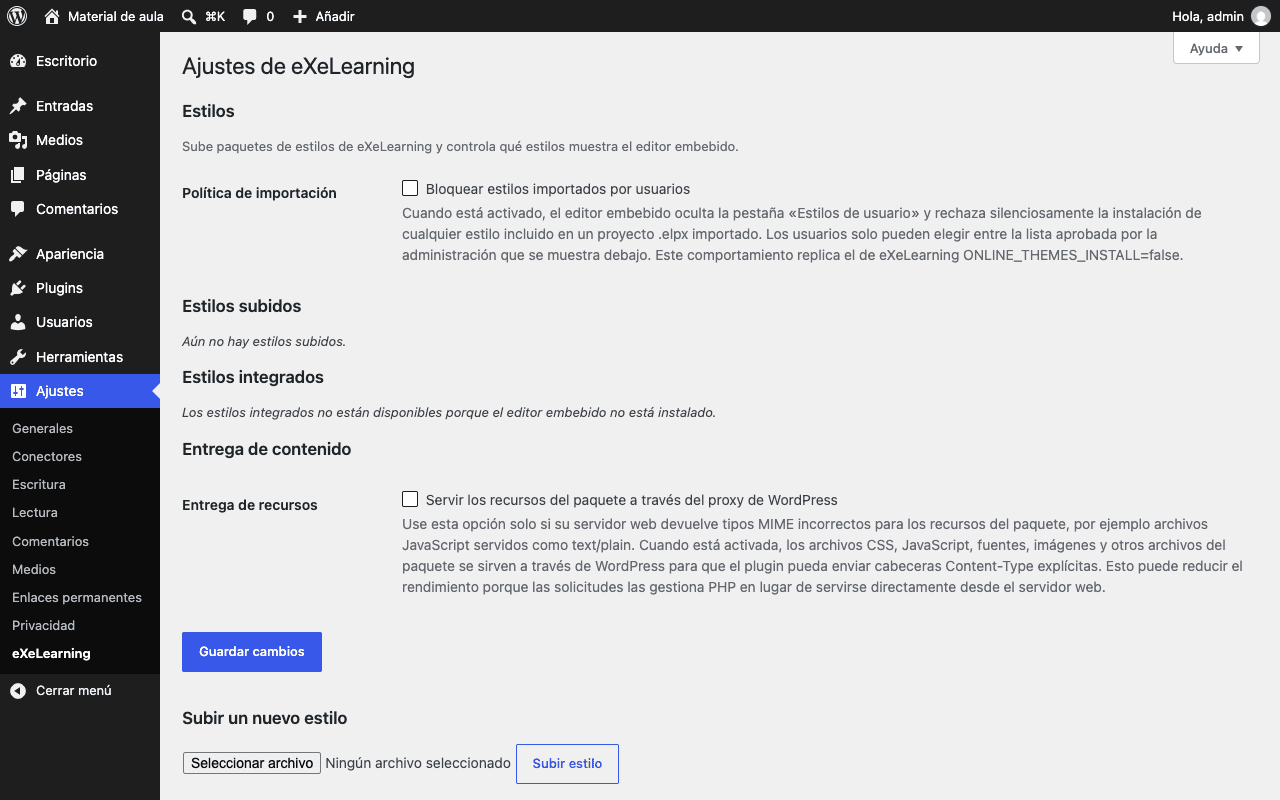
Nothing to configure. In Settings → eXeLearning you can check the editor status, manage styles and see shortcode examples.
For teachers
1. Upload a resource
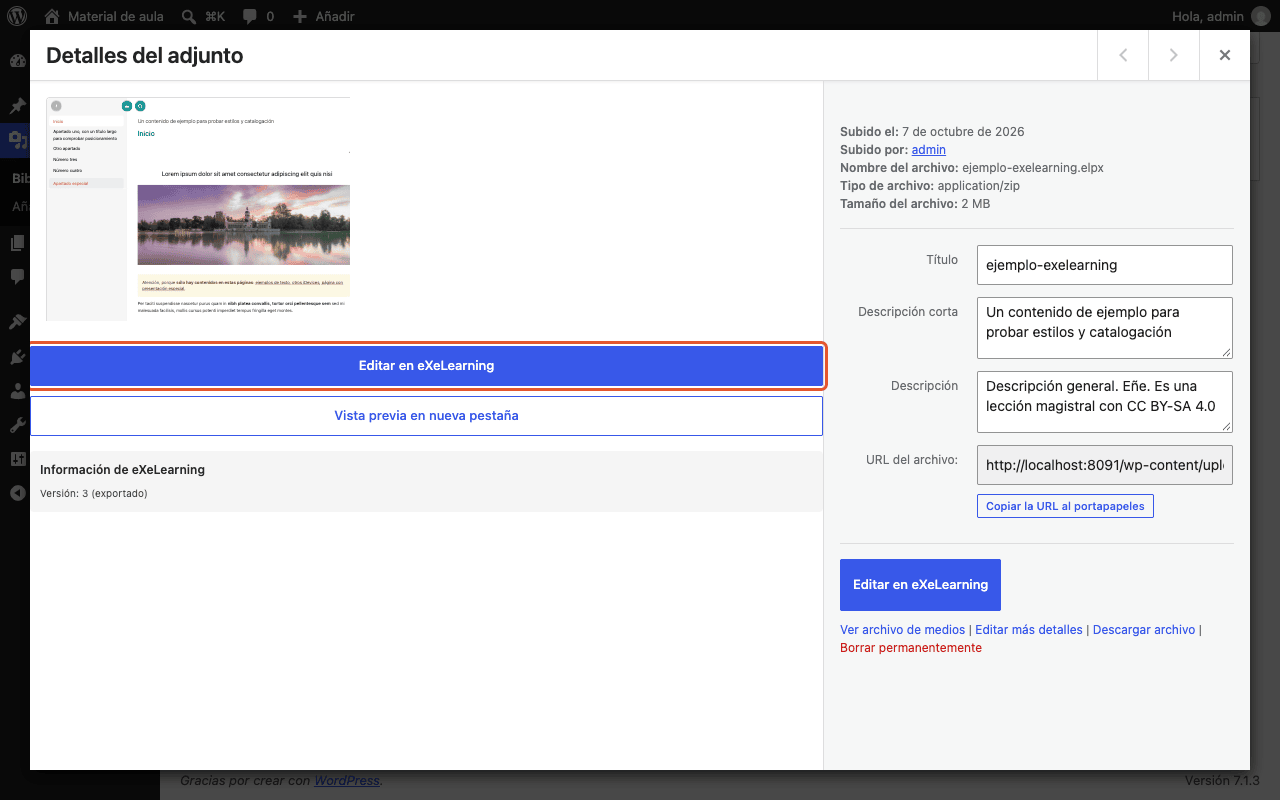
In Media → Add Media File, upload the .elpx file. WordPress checks it and gets it ready to be
shown.
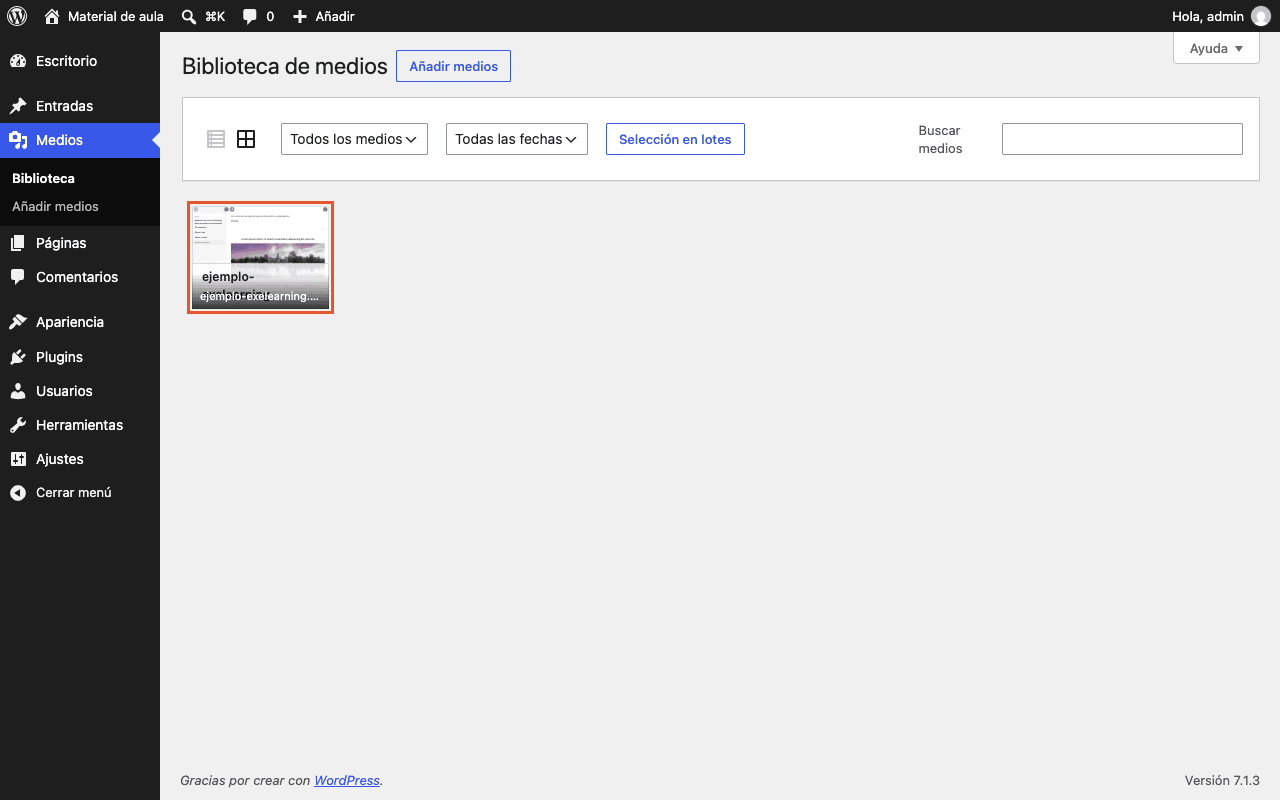
The attachment details show the eXeLearning Info, a preview and the Edit in eXeLearning button.
2. Edit it
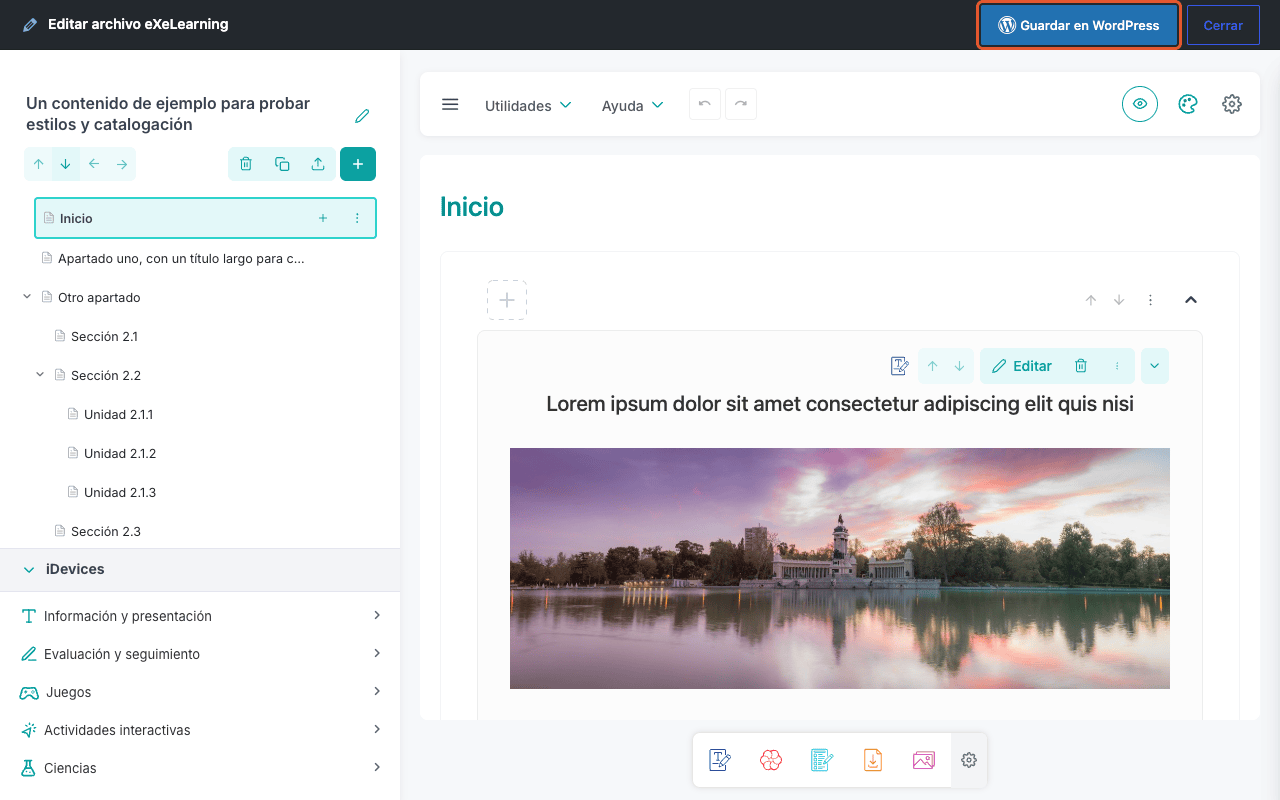
Click Edit in eXeLearning. The editor opens in a window; when you are done, click Save to WordPress. Every post that uses the resource shows the new version.
3. Publish it in a post or page
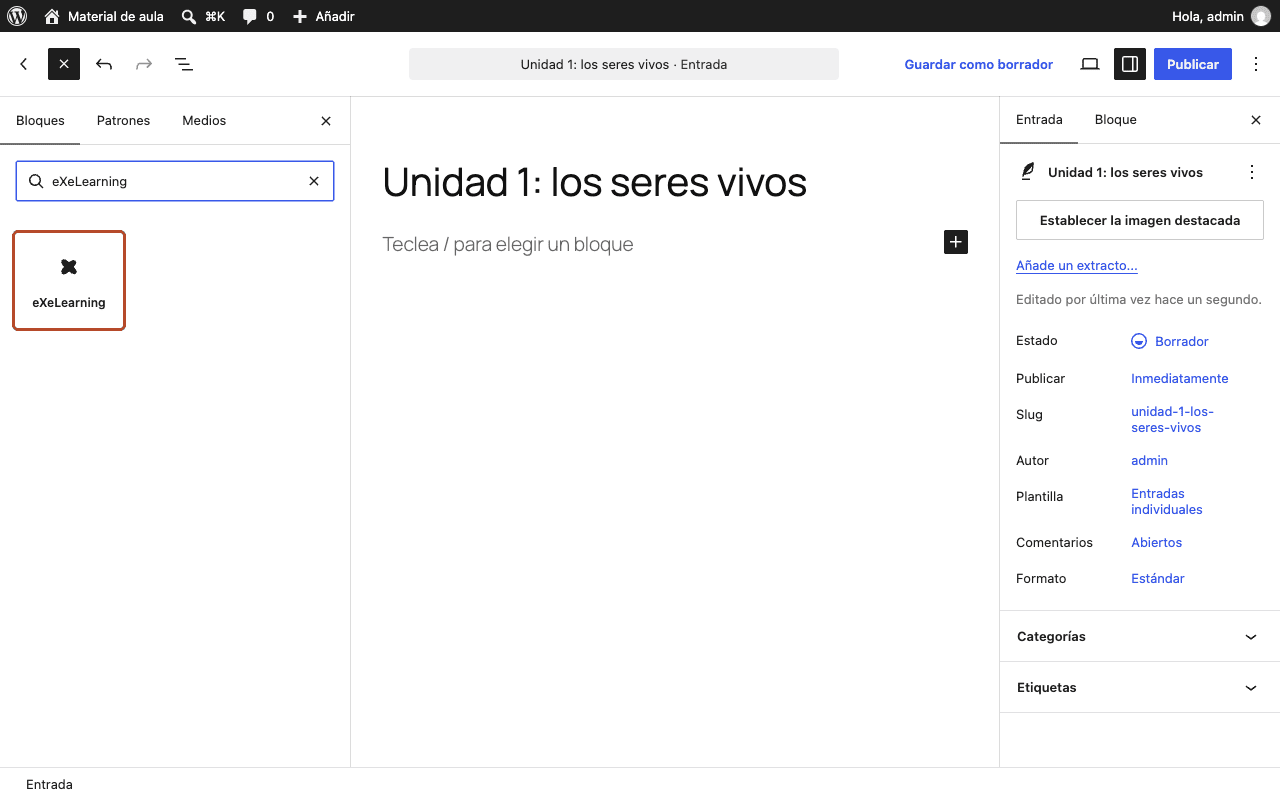
In the block editor, click + (block inserter), search for eXeLearning and add the block. Then pick the resource with Upload .elpx File or Media Library.
In the block sidebar you can change the Height (px) and show the teacher layer selector, the fullscreen button and the download options.
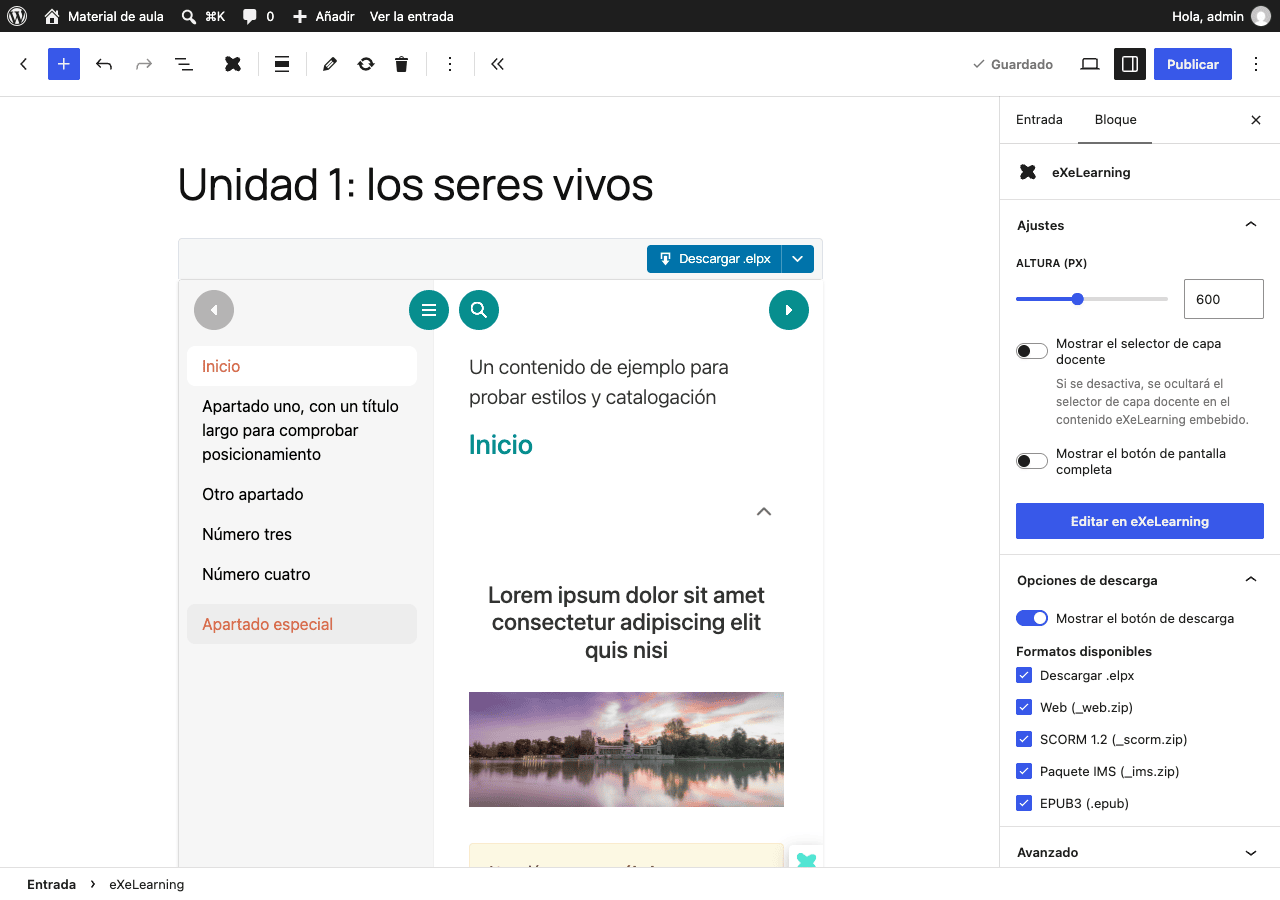
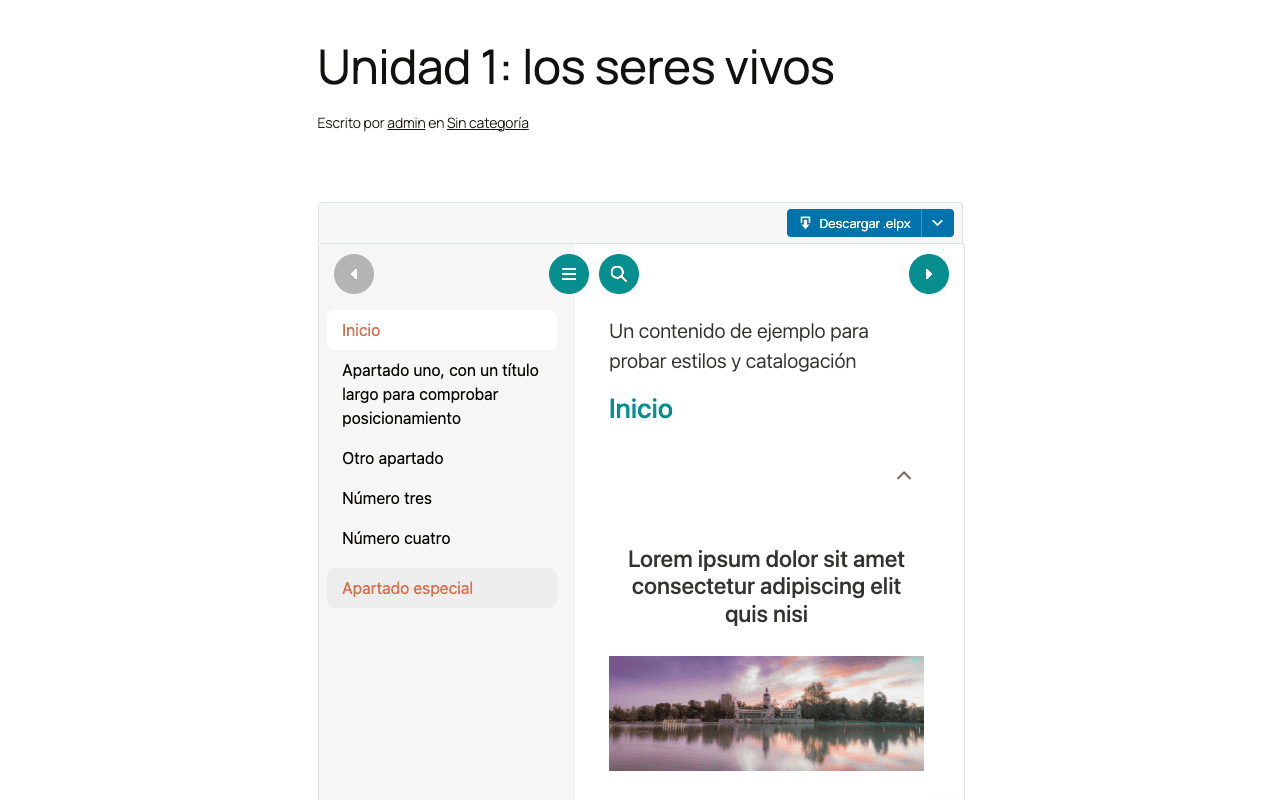
This is what students see on the site:
Using the classic editor? Shortcode
Type [exelearning id="123"], where 123 is the file's number in the Media Library (it appears in
the address when you open it: upload.php?item=123). Useful options:
[exelearning id="123" height="800" fullscreen="1" show_download="1" screenshot="poster"]
height and width change the size, fullscreen adds the fullscreen button, show_download
lets visitors download the resource and screenshot="poster" shows an image until Load
interactive content is clicked.