eXeLearning in Omeka S
The ExeLearning module for Omeka S lets you add eXeLearning resources (.elpx) as item media,
view them embedded in the page and edit them with the eXeLearning editor. It is useful for
repositories and collections of learning resources.
Try it before installing
Open the demo in Omeka S Playground
(user admin@example.com, password password). It includes a sample item and a public site at
/s/demo.
For administrators
The administrator installs the module once on the Omeka S server and it is available on every site of that installation; teachers install nothing. If your schools share one Omeka S, install it there once.
Requirements
- Omeka S 4.0 or later.
- PHP 7.4 or later with the ZIP extension.
- On nginx servers, the extra rules listed in the module README. Nothing is needed with Apache.
Installation
- Download
ExeLearning-X.Y.Z.zipfrom the latest release. - Unzip it into Omeka S's
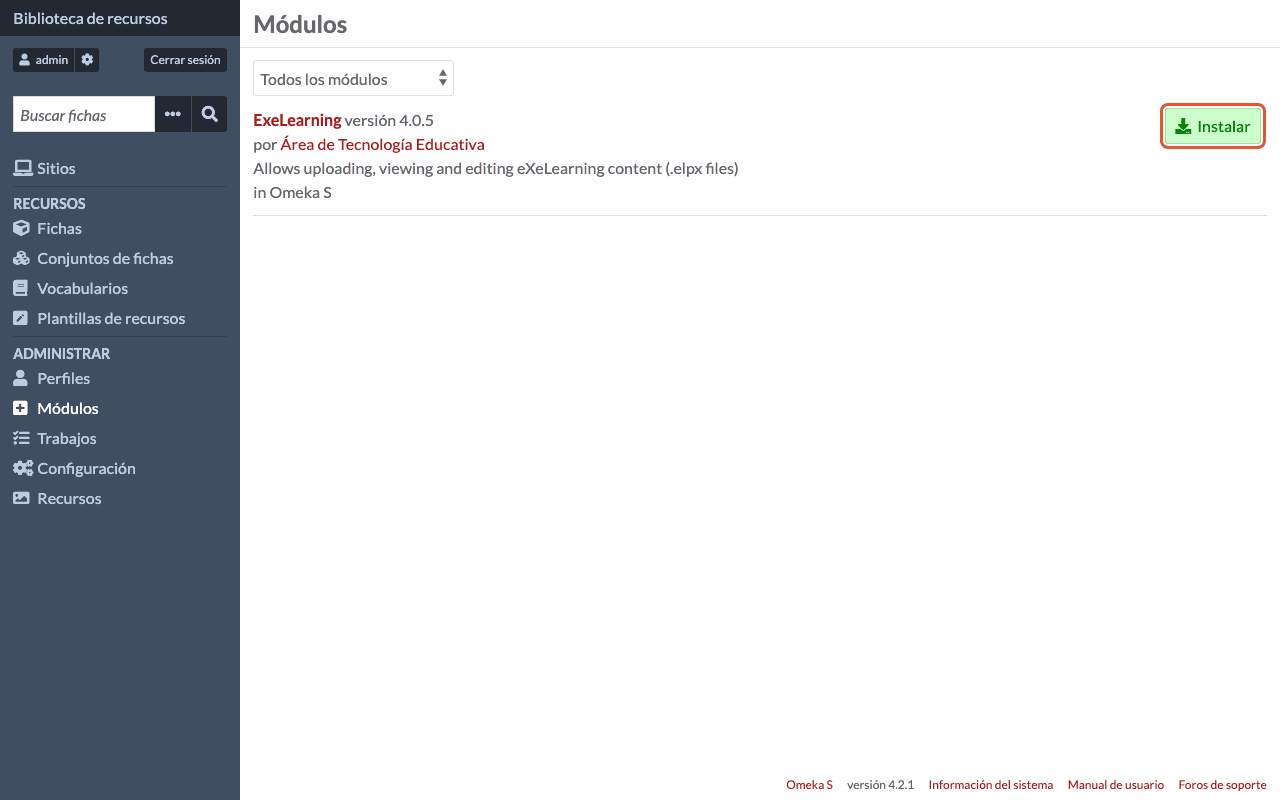
modules/folder. You must end up withmodules/ExeLearning. - In the admin panel, open Modules and click Install next to ExeLearning.
Configuration
Click Configure next to the module to set the Viewer Height (px) and the Download formats
offered (.elpx, web, SCORM 1.2, IMS, EPUB3). Click Submit to save.
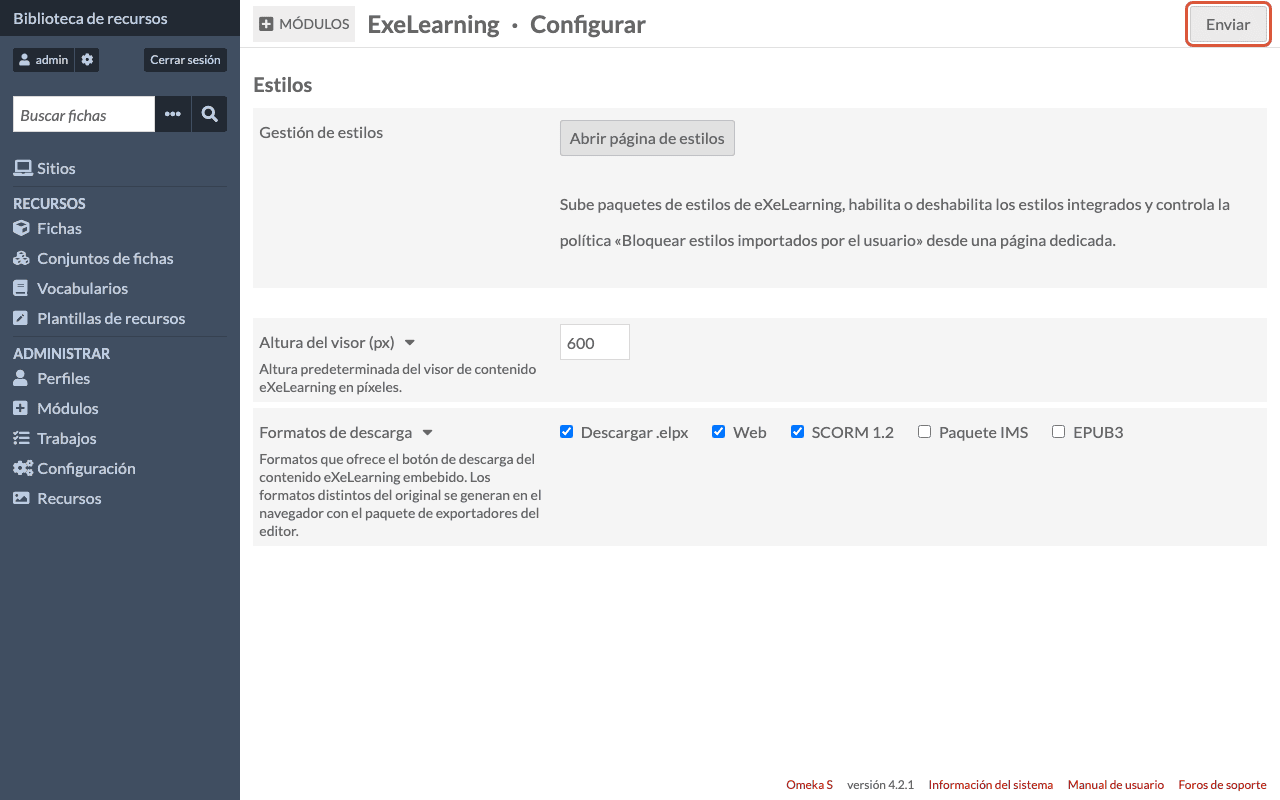
Open styles page lets you upload and enable your own styles.
For teachers
Add a resource to an item
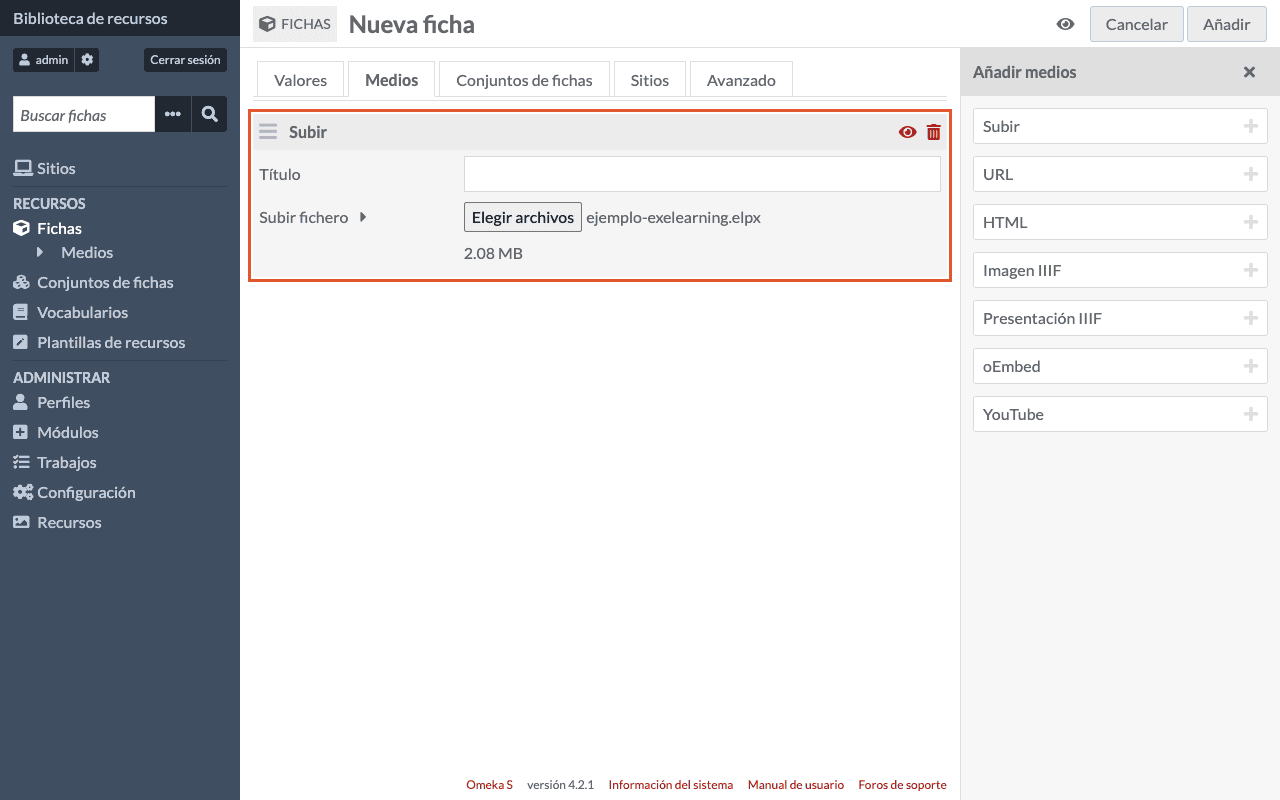
Create or edit an item (Items), go to the Media tab, choose Upload and select the .elpx.
Save the item.
View and edit it
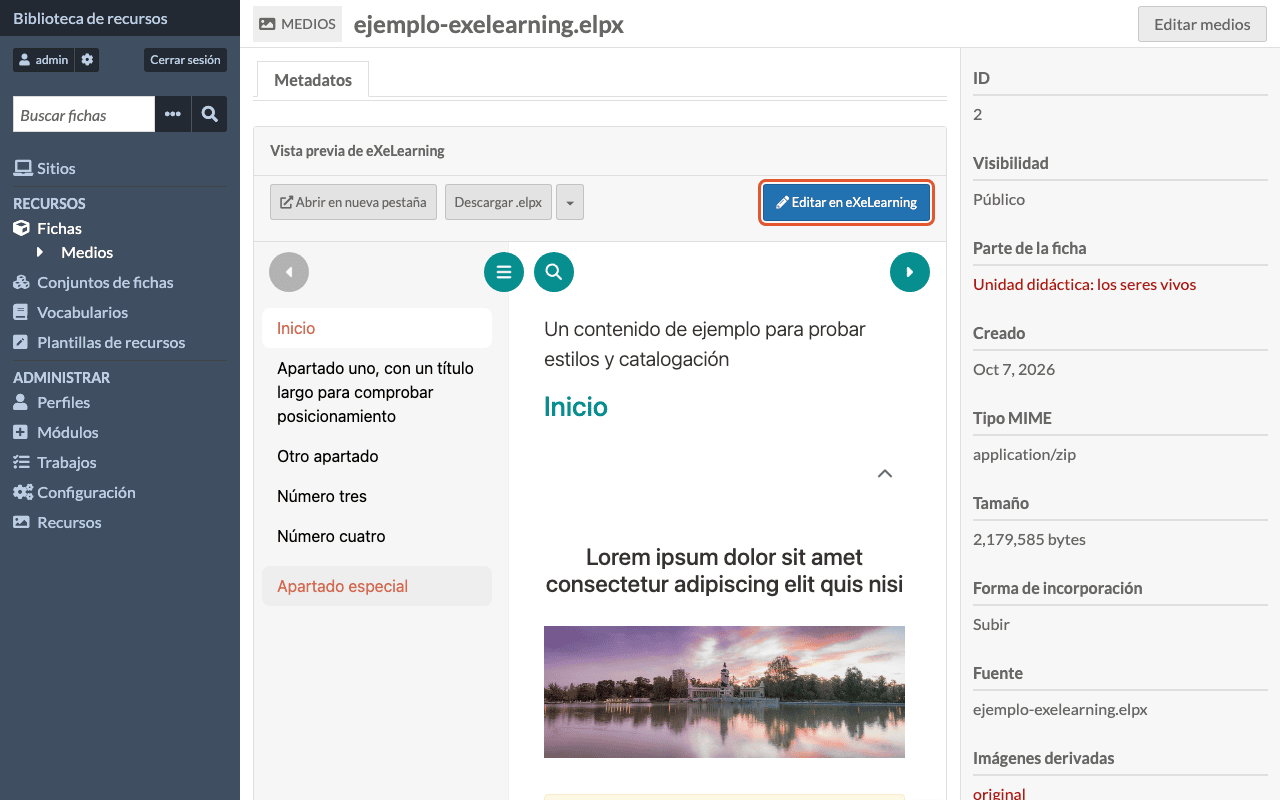
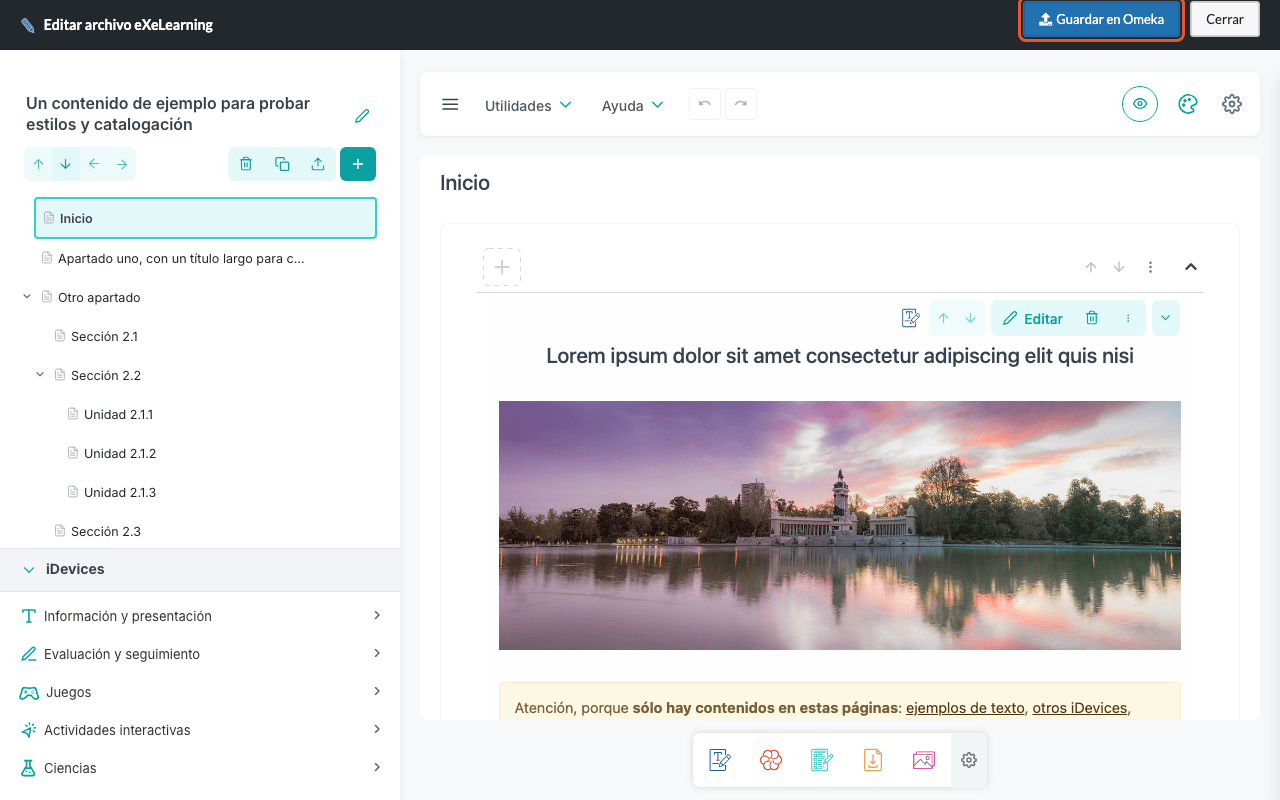
Open the media: you will see the eXeLearning preview, with buttons to open it in a new tab or
download the .elpx. Click Edit in eXeLearning to change it.
When you are done, click Save to Omeka.
On the public site
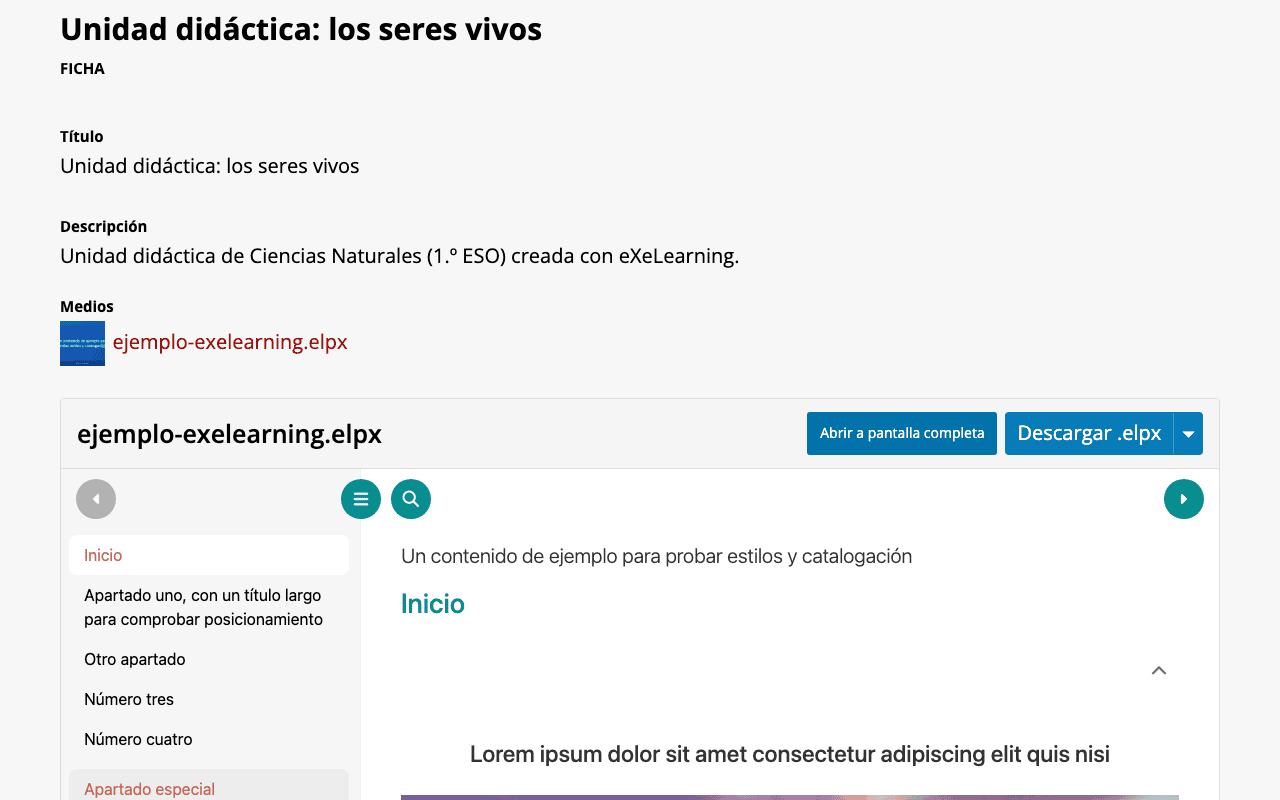
The resource appears automatically on the item page of the public site, with buttons to view it full screen or download it.
Who can edit?
The owner of the media and the Omeka S roles that can change any resource (administrators, editors). The administrator decides who has those roles. Visitors only see the content.